Hello there!
In this post I’m going to go through the Business Objects 4.0 Installation process using a Windows Server.
Pre steps before the installation
- Purchase a Windows 2008 R2 64bit server with at least 32 gigabytes of ram
- Install NET Framework 3.5 SP1 or greater
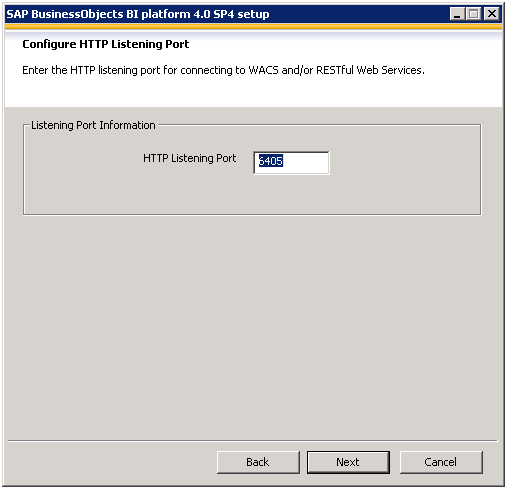
- Open ports 8080, 6400 – 6410 ( you only normally use the ports 8080, 6400, 6401, 6402, 6403 and 6410). These ports should be open for bi directional communication
- Download the Business Objects 4.0 server install from the SAP Service Market
Beginning the install, make sure you run the install on your local drive
-
Double click on the setup file, the install will begin

-
Select ‘English’ for the install

-
Installation process will check server pre-request items. They need to be in “Succeeded” status before installation. Click next if all the items Succeeded

- Make sure any other program running are closed just so the install won’t encounter any issues then click Next
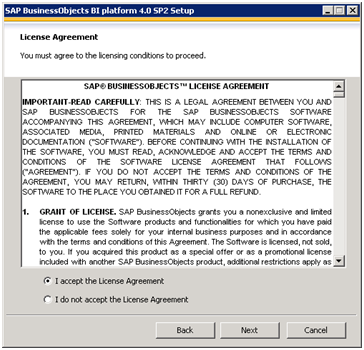
- Read and accept the License Agreement then click next
-
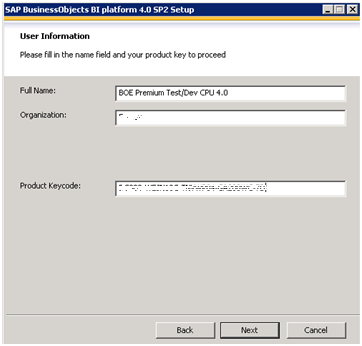
Type the User Information. Use the License Key obtained from SAP.
-
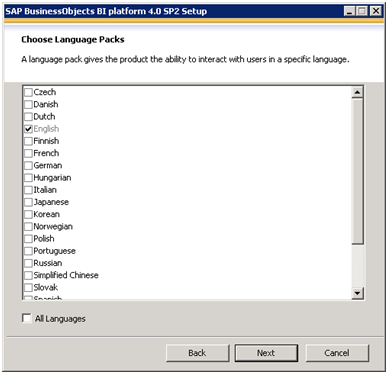
Pick the English Language

-
Choose the Full Install type for installing the complete SAP BusinessObjects BI platform

-
Specify the destination folder

-
Specify CMS and Auditing database to use an existing one and select the database type as shown in next few screenshots.


-
Use Tomcat web server comes with BO package

-
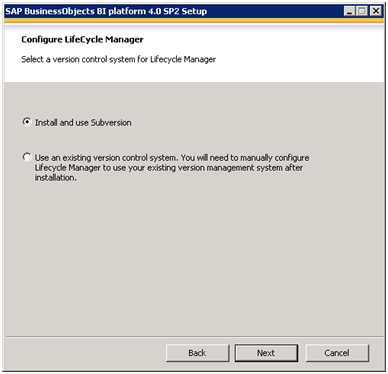
Configure LifeCycle Manager to Install and use Subversion.
- Configure Node Name (use the server name) for SIA

-
Enter the port number for CMS configuration.

- Specify the new password for the CMS administrator account and a value for the CMS cluster key.

- Configure CMS Repository Database – Oracle
Specify the database to be Oracle, then put in the database connection info.

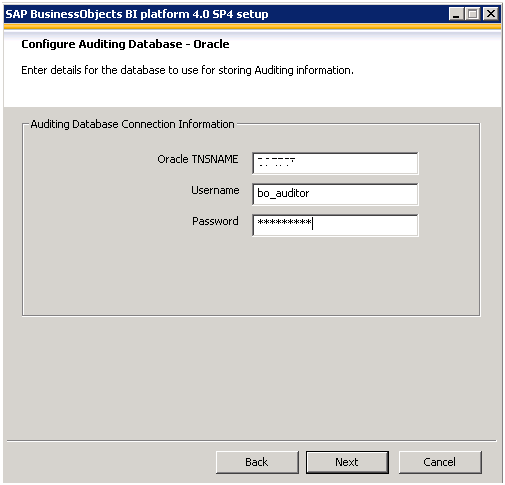
- Configure Auditing Repository Database – Oracle
Specify the database type to Oracle, then the connecting info.
-
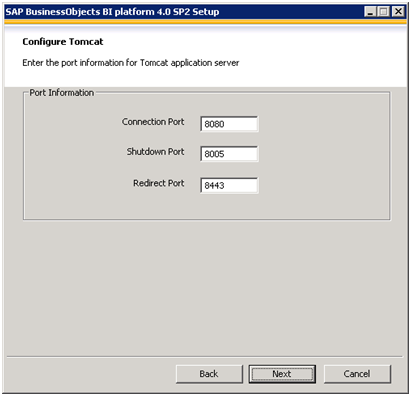
Tomcat setting, all take default
-
Subversion config (need to put in LCM password)

-
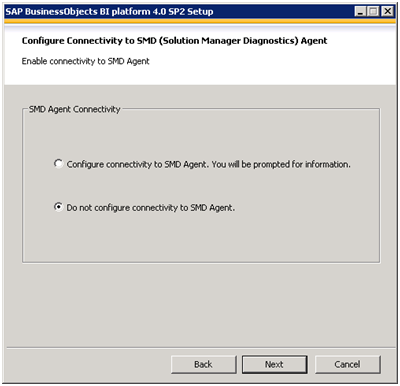
Select the option as shown below as it is not necessary for enabling connectivity to SMD agent.
-
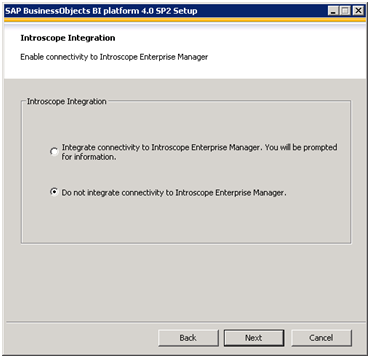
Select the option as shown below as it is not necessary for enabling connectivity to Interoscope Enterprise Manager.
-
Select Next to start the Installation
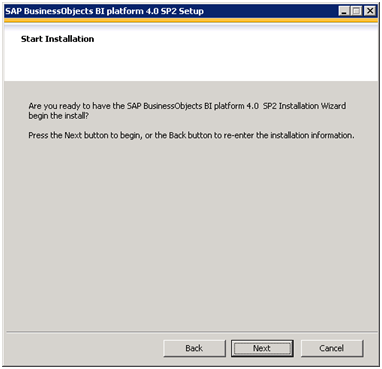
It will take a while when you click on “Next”…

Post install, nothing need to be done except to press “Next” and Finish. This concludes the install.
If you have any questions about installing please feel free to leave a comment.
